
Builder Gel Nails: What They Are and Why Nails Love Them
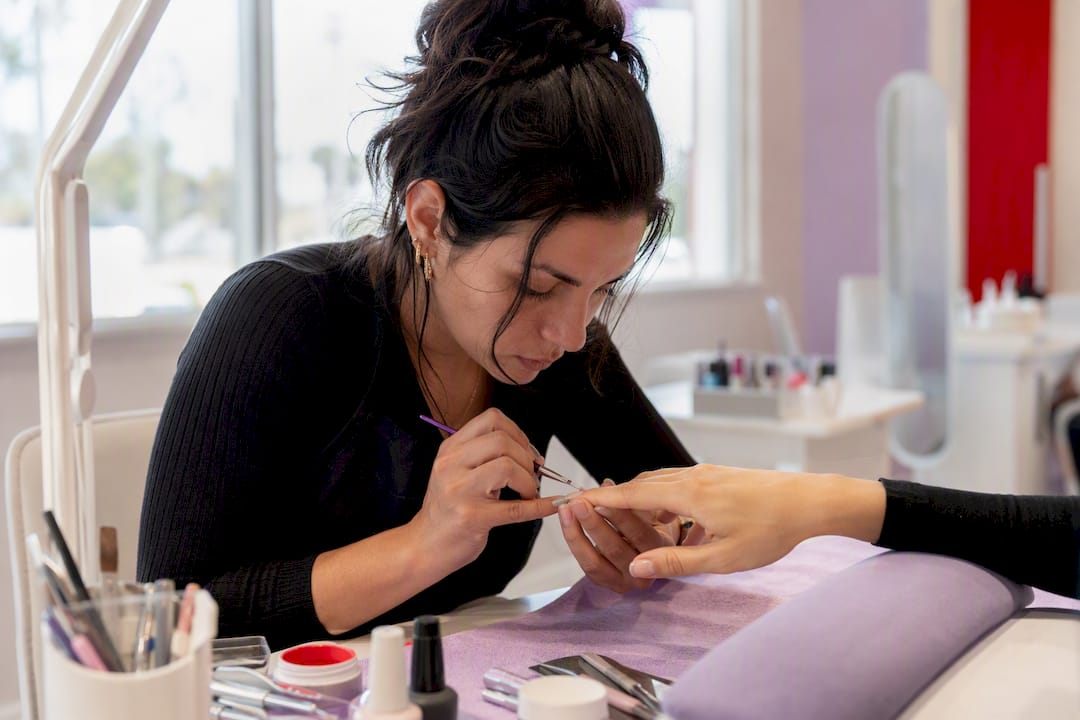
Builder gel is a cured structural gel overlay that strengthens and protects your natural nails so they can keep length without breaking. The primary payoff isn’t faster growth. It’s fewer snags, splits, and breaks while your own nail does the growing.
Builder gel nails tend to help:
People with thin, bendy, or peeling nails who want a protective shield
Anyone recovering from years of acrylics who wants a gentler system
Chronic nail-biters trying to break the habit with a hard barrier over the nail bed
Key Takeaways
Builder gel strengthens natural nails by preventing mechanical breakage, not by speeding up biological growth, and correct apex placement determines how well it holds up.
Point | Details |
Definition | Builder gel is a cured structural overlay that reinforces and protects natural nails as they grow. |
Best candidates | Brittle nails, post-acrylic recovery, nail-biters, and hands-on jobs see the biggest improvement. |
Realistic timeline | Cosmetic results show immediately; structural improvement is usually visible after two to three sets. |
Main risk | Over-buffing and improper soak-off cause most damage, not the gel itself. |
Bradentonnails offering | Bradentonnails applies builder gel overlays with attention to apex placement and safe soak-off removal. |
Table of Contents
What Is Builder Gel and How Does It Differ From Gel Polish and Acrylics?
Builder gel is a thick, protein-rich gel formula that cures under LED or UV light into a hard, flexible layer bonded to the natural nail. Gel polish is decorative. It’s thin, mostly color, and offers almost no structural reinforcement. Builder gel is the opposite: it’s applied in actual thickness, engineered to reinforce weak or bendy nails the way a cast supports a bone.
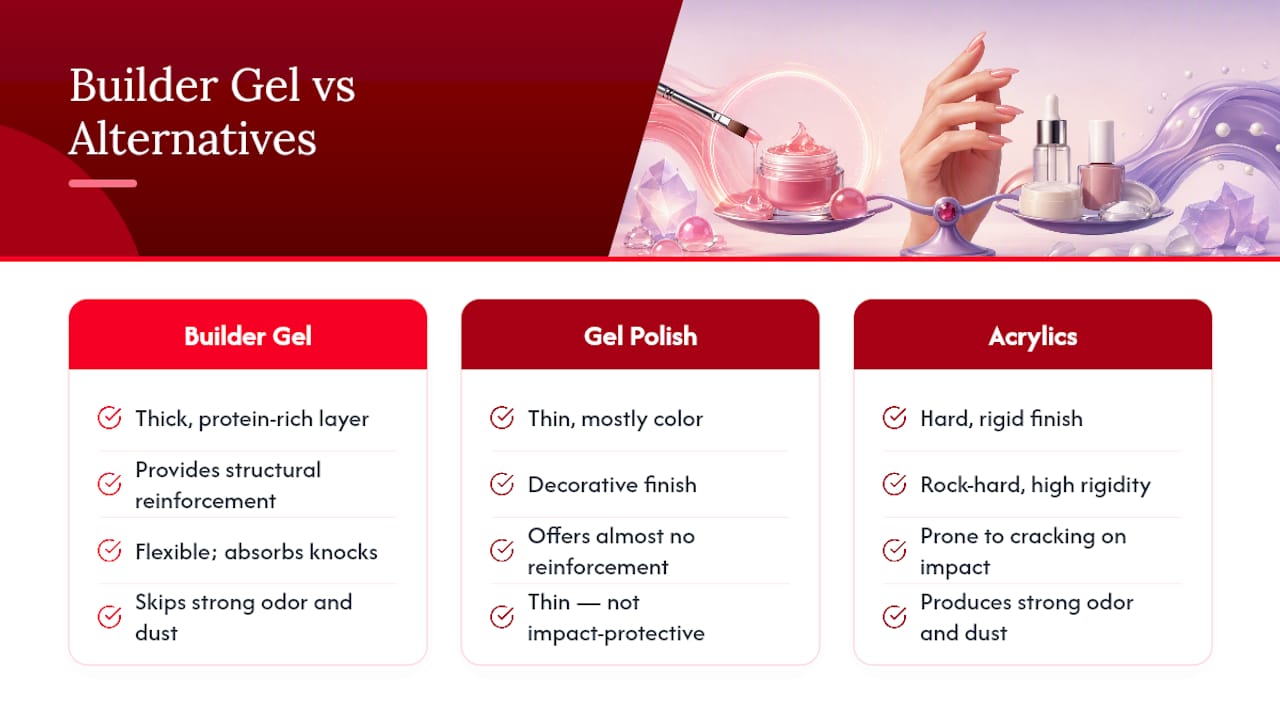
Acrylics cure through a chemical reaction between liquid monomer and powder polymer, which makes them rock hard but also more rigid and prone to cracking on impact rather than flexing. Builder gel keeps some give, so it absorbs everyday knocks instead of shattering. It also skips the strong odor and dust that come with acrylic application, which is one reason clients switching from acrylics often ask for it by name.
Builder Gel Formats: Monophase, Multi-Phase, Self-Levelling, and BIAB
Not all builder gel comes in the same consistency, and the format changes how forgiving the application is.
Monophase gels combine base, builder, and top coat properties in one formula, simplifying the process but demanding more skill to control thickness.
Biphase and triphase systems separate those functions into distinct layers, giving technicians more control over structure versus shine.
Self-levelling builder gels settle flat on their own, cutting down on heavy filing. They’re often recommended for beginners working on natural-nail overlays.
BIAB (builder in a bottle) is a brush-on, soak-off version built for thinner overlays, popular for its ease and quick application.
Colored builder gels merge pigment into the structural layer itself, skipping a separate polish step entirely.
Sculpting gels, thicker and less fluid, are reserved for building extensions rather than simple overlays.
Who Benefits Most From a Builder Gel Manicure?
Builder gel earns its reputation with a specific group: people whose nails are thin, brittle, or bend before they break clean. Nail-biters looking for a hard barrier, clients recovering from years of acrylic wear, and anyone in a hands-on job (think servers, hairstylists, or gardeners) tend to see the biggest difference.
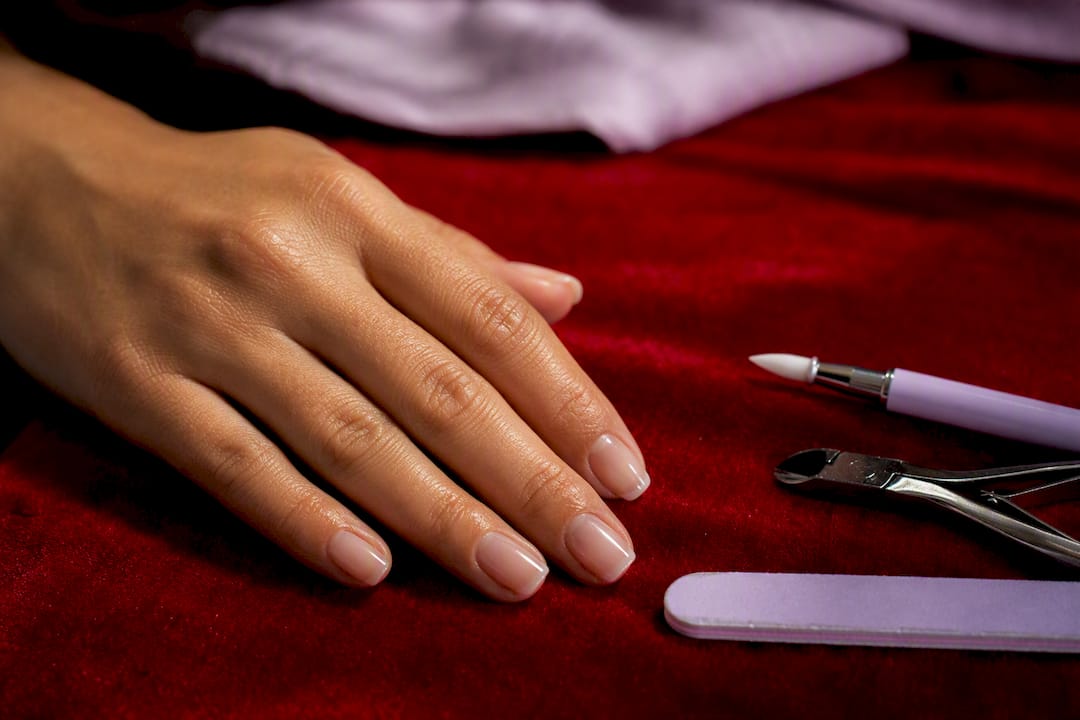
The core advantage is straightforward. Builder gel protects the nail from mechanical damage rather than speeding up biological growth, so your nails stop breaking off at the same weak point over and over. That alone lets natural length finally show up.
The real timeline: cosmetic improvement is visible immediately, but most clients notice genuine structural improvement, longer length, and stronger plates after two to three sets, since it takes multiple growth cycles for the nail to fully outgrow old damage.
What Are the Risks and Downsides of Builder Gel?
Builder gel is generally low risk when applied and removed correctly, but it isn’t risk-free.
Acrylate and HEMA sensitization can develop over repeated exposure. Watch for redness, itching, swelling around the cuticle, or burning during curing, and stop use if symptoms appear.
Over-buffing or peeling off product thins the natural nail plate and is the leading cause of damage attributed to builder gel, not the gel itself.
Improper soak-off removal can leave nails dry, brittle, or flaking, which people often blame on the gel rather than the technique.
Existing nail infections or open cuts are a reason to hold off until the nail bed heals.
Pro Tip: If you notice itching or burning that starts specifically during the curing step, that’s a sensitivity signal worth mentioning to your technician immediately, not something to wait out over several appointments.
How Long Does a Builder Gel Overlay Take: Step-by-Step Application
A salon-standard builder gel overlay typically runs 60 to 75 minutes from prep through final polish. Here’s what actually happens during that appointment:
Gentle buff and cuticle care. The nail surface gets lightly buffed to remove shine, and cuticles are pushed back and cleaned up.
Degrease and prime. A dehydrator or primer removes oils so the gel bonds properly.
Base layer. A thin bonding layer is applied and cured first.
Slip layer and apex placement. Builder gel is added in a controlled bead, with the highest point (the apex) positioned over the stress zone, roughly one-third back from the free edge, at a thickness around 0.3 to 0.5 millimeters for a natural-nail overlay.
Thin build layers, curing between each. Multiple thin passes cure faster and more evenly than one thick layer, and they reduce shrinkage cracks.
Refine and shape. Light filing evens the surface without stripping the structure.
Top coat and cuticle oil. A glossy seal finishes the set, and oil is massaged in before you leave.
Correct apex placement is the detail that separates a set that survives a week of typing and dish-washing from one that pops off by Wednesday.
Removal, Maintenance, and Aftercare for Builder Gel
Soak-off removal is the standard, and for good reason: peeling or aggressively filing off builder gel strips healthy nail cells along with it. A proper soak-off, using acetone and gentle pressure rather than force, protects the plate underneath.
Schedule an infill around the three to four week mark as new growth creates a visible gap at the cuticle.
Plan a full soak-off and fresh application every two to three sets rather than infilling indefinitely.
Practitioners recommend a short break of a few days to a week after several consecutive sets to let the natural nail rehydrate.
Apply cuticle oil daily. It keeps the surrounding skin flexible and reduces lifting at the edges.
Watch for any redness or irritation that develops around the nail bed over multiple cycles.
If you’re unsure how to time a soak-off at home, safe gel removal techniques are worth reading before you reach for a metal tool.
Builder Gel vs. BIAB vs. Gel Polish: Which One Should You Choose?
The right choice depends on what your nails actually need, not just what looks nice in a photo.
Choose a structural builder gel overlay if your nails are thin, weak, or breaking regularly and you want real reinforcement.
Choose BIAB if you want a thinner, more natural-looking overlay with easier soak-off and less bulk.
Choose gel polish alone if your nails are already healthy and you just want color and shine with minimal thickness.
Combine systems by using a BIAB or builder base with gel polish on top when you want structural support and full color flexibility in one set.
Thickness, removal method, and how often your hands are in water or chemicals should all factor into the decision, more than trend photos ever should. For more on how gel polish compares on its own, see gel nails versus regular polish.
What Bradentonnails Technicians Prioritize With Builder Gel
Getting builder gel right comes down to a handful of decisions made before the gel even touches the nail.
Gentle prep matters more than most clients realize. Over-buffing to make gel adhere better is one of the fastest ways to weaken a nail that was already thin to begin with. Correct apex shaping over the stress zone, not just anywhere on the nail, is what actually prevents cracks. And removal should never be rushed. Soaking off properly takes longer than peeling, but it’s the difference between a nail that keeps improving set after set and one that regresses.
Bradentonnails recommends builder gel most often to clients recovering from acrylic damage, nail-biters, and anyone whose hands are in water or cleaning products all day. Appointment details are on the Bradenton nail salon booking page.
A Technician’s Take on Overlay Thickness
Thinner overlays with a properly placed apex outlast thick, careless ones every time, and clients who take a short break every two to three sets keep their nails healthiest long term.
Pro Tip: Ask your technician to show you where the apex sits on your nail. If it’s not roughly a third of the way back from the tip, the set is more likely to crack under everyday pressure.
Book a Builder Gel Overlay at Bradentonnails
Bradentonnails is the option for readers who want the strengthening benefits of builder gel without guessing at apex placement or removal timing themselves. Where DIY kits leave thickness, curing, and soak-off technique entirely up to you, a trained technician handles the part that actually determines whether the set protects your nails or damages them.

A first appointment typically includes a quick nail assessment, cuticle prep, and a conversation about whether a full builder overlay, a BIAB-style thin layer, or a combination approach fits your nails and lifestyle best. Book a builder gel service through the Bradenton nail salon appointment page and get the apex, thickness, and removal schedule handled by someone trained to do it right.
Sources
Recommended
Comments